Ok, this is tutorial isn’t about making eyes at someone else, or processing new eyeballs to replace the ones your T-800 lost. It’s just a quick tutorial on one way to create eyes in Photoshop.
More specifically, this is about the iris and pupil. There are many ways to do it of course, but this is one way that I started doing many years ago, and I’ve always liked it.
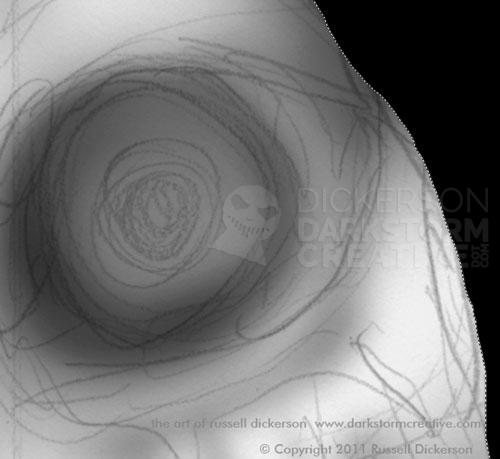
First up, I’ve zoomed in on my sketch and the initial shadows of the art. This particular piece is in progress by the way, so I still have to work on the rest of the face, parts around the eye, and so on. But it’s roughly shaded in at this point.
Now, I tend to skip around a bit doing art, I don’t necessarily always start with the iris. Sometimes it’s the eyelid, sometimes other parts of the face. But I’ve learned (through hard lesson) to let the art flow naturally, and today it told me to start with the iris.
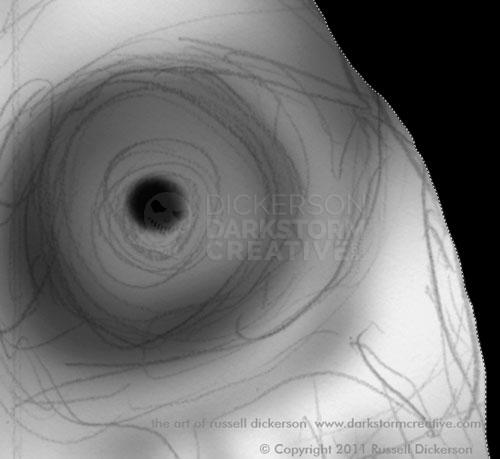
From here I do a little more shading, then add the pupil. Now, the pupil is really just a black spot, so complexity isn’t the point as much as location. The pupil determines where the character is looking, so it’s very important to pick the right spot. In this case, it happens that it’s staring straight forward.
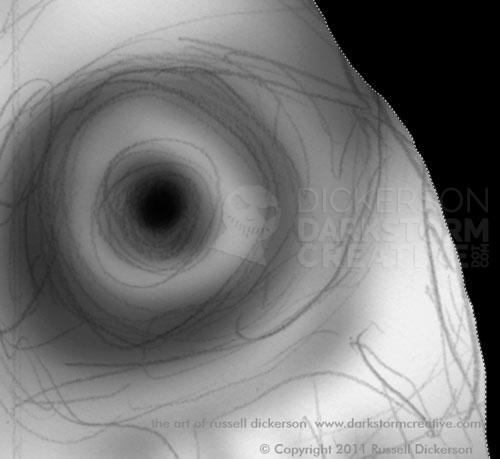
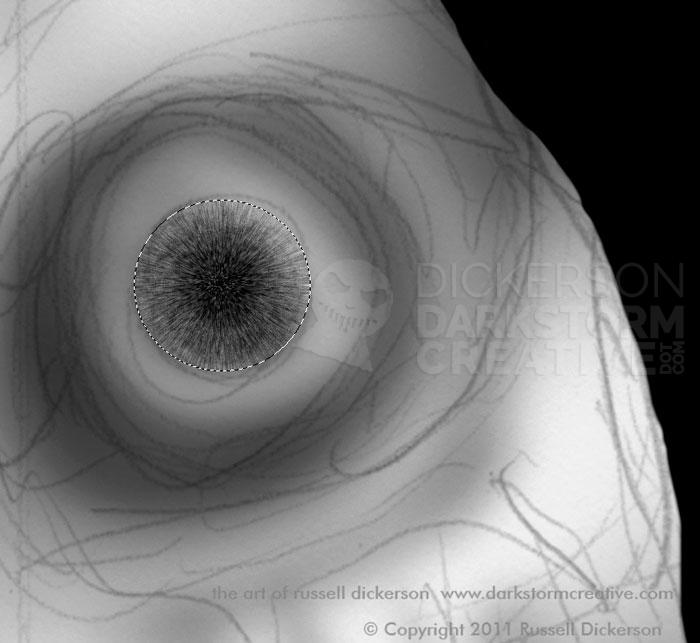
From here I lighten a few spots, darken others, and then put a general color (or gray, as in this case) in the area where the iris will be. It should be a pretty decent circle, or an ellipse if the eye is more in perspective than this. It should be somewhat consistent, but not completely consistent. You do want a slight variance in parts.
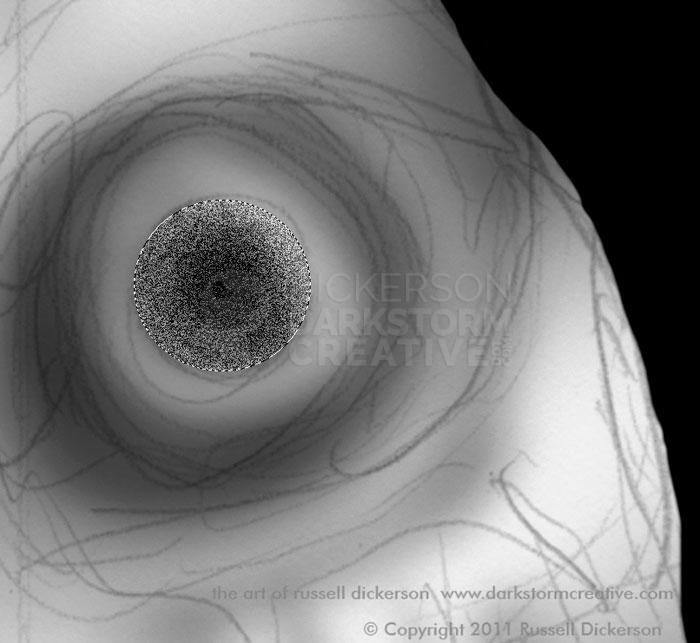
Then I use Photoshop’s Elliptical Marquee Tool to select a circular area around the gray iris area. The pupil should be dead center of the selection, which in Photoshop is easy enough. As you click and hold with the Marquee tool, holding down the Alt key (PC) forces the selection to start the circle from the center, not the edge like it normally does. Holding down the Shift key (PC) forces constrains it to a full circle shape, which in this case is what I need.
Once I like where that’s at, I just use the Add Noise filter in Photoshop to, well, add noise to it. You can play with the settings of the filter to get what you like out of it, each eye will be a little different. In this case too, I set it to “monochromatic” to keep other random colors out of it (yes it’s gray, but it’s an RGB file because it’s not staying gray).
You can still tell where the different patterns were, and that’s important. That difference is what helps in our next step, and sometimes a loose pattern of noise is better. Sometimes it needs to be complex. It just depends, play with the settings (and the magic of “undo”) until you get what you want.
Leave the selection in place, we’ll still use it on the next step. We use Photoshop’s Radial Blur feature to give the impression of depth and texture. In the Radial Blur filter, we need to set the Blur Method setting to “zoom”. From there, just toy with the other settings until you get what you like out of it.
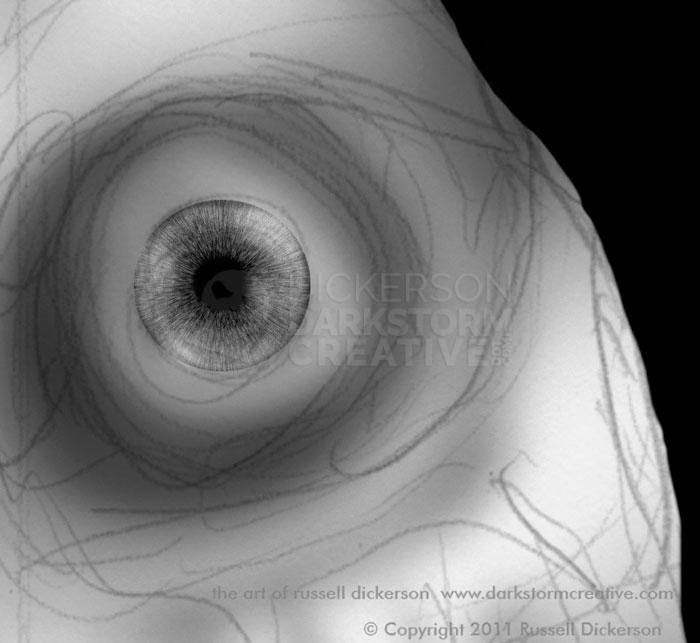
Once you’re happy with it, just add the pupil back in and other adjustments as needed. I like to very lightly run a darker color around the selection while it’s still on, that gives a nice edge to the iris. I also like to dodge and/or burn it in a few spots, just for effect.
Voila, here’s the eye:
Now, I won’t say it’s “finished”, simply because I have a long ways to go on this piece. I need to add more details around the eye, in the face, and overall. But this gives me a nice feeling in my head, the feeling that now we’re getting somewhere.
With art, that’s sometimes all I need, just a nudge in the right direction. If one part goes fine, it stands to reason the rest of it will as well. At least, that’s what I keep telling myself.
